

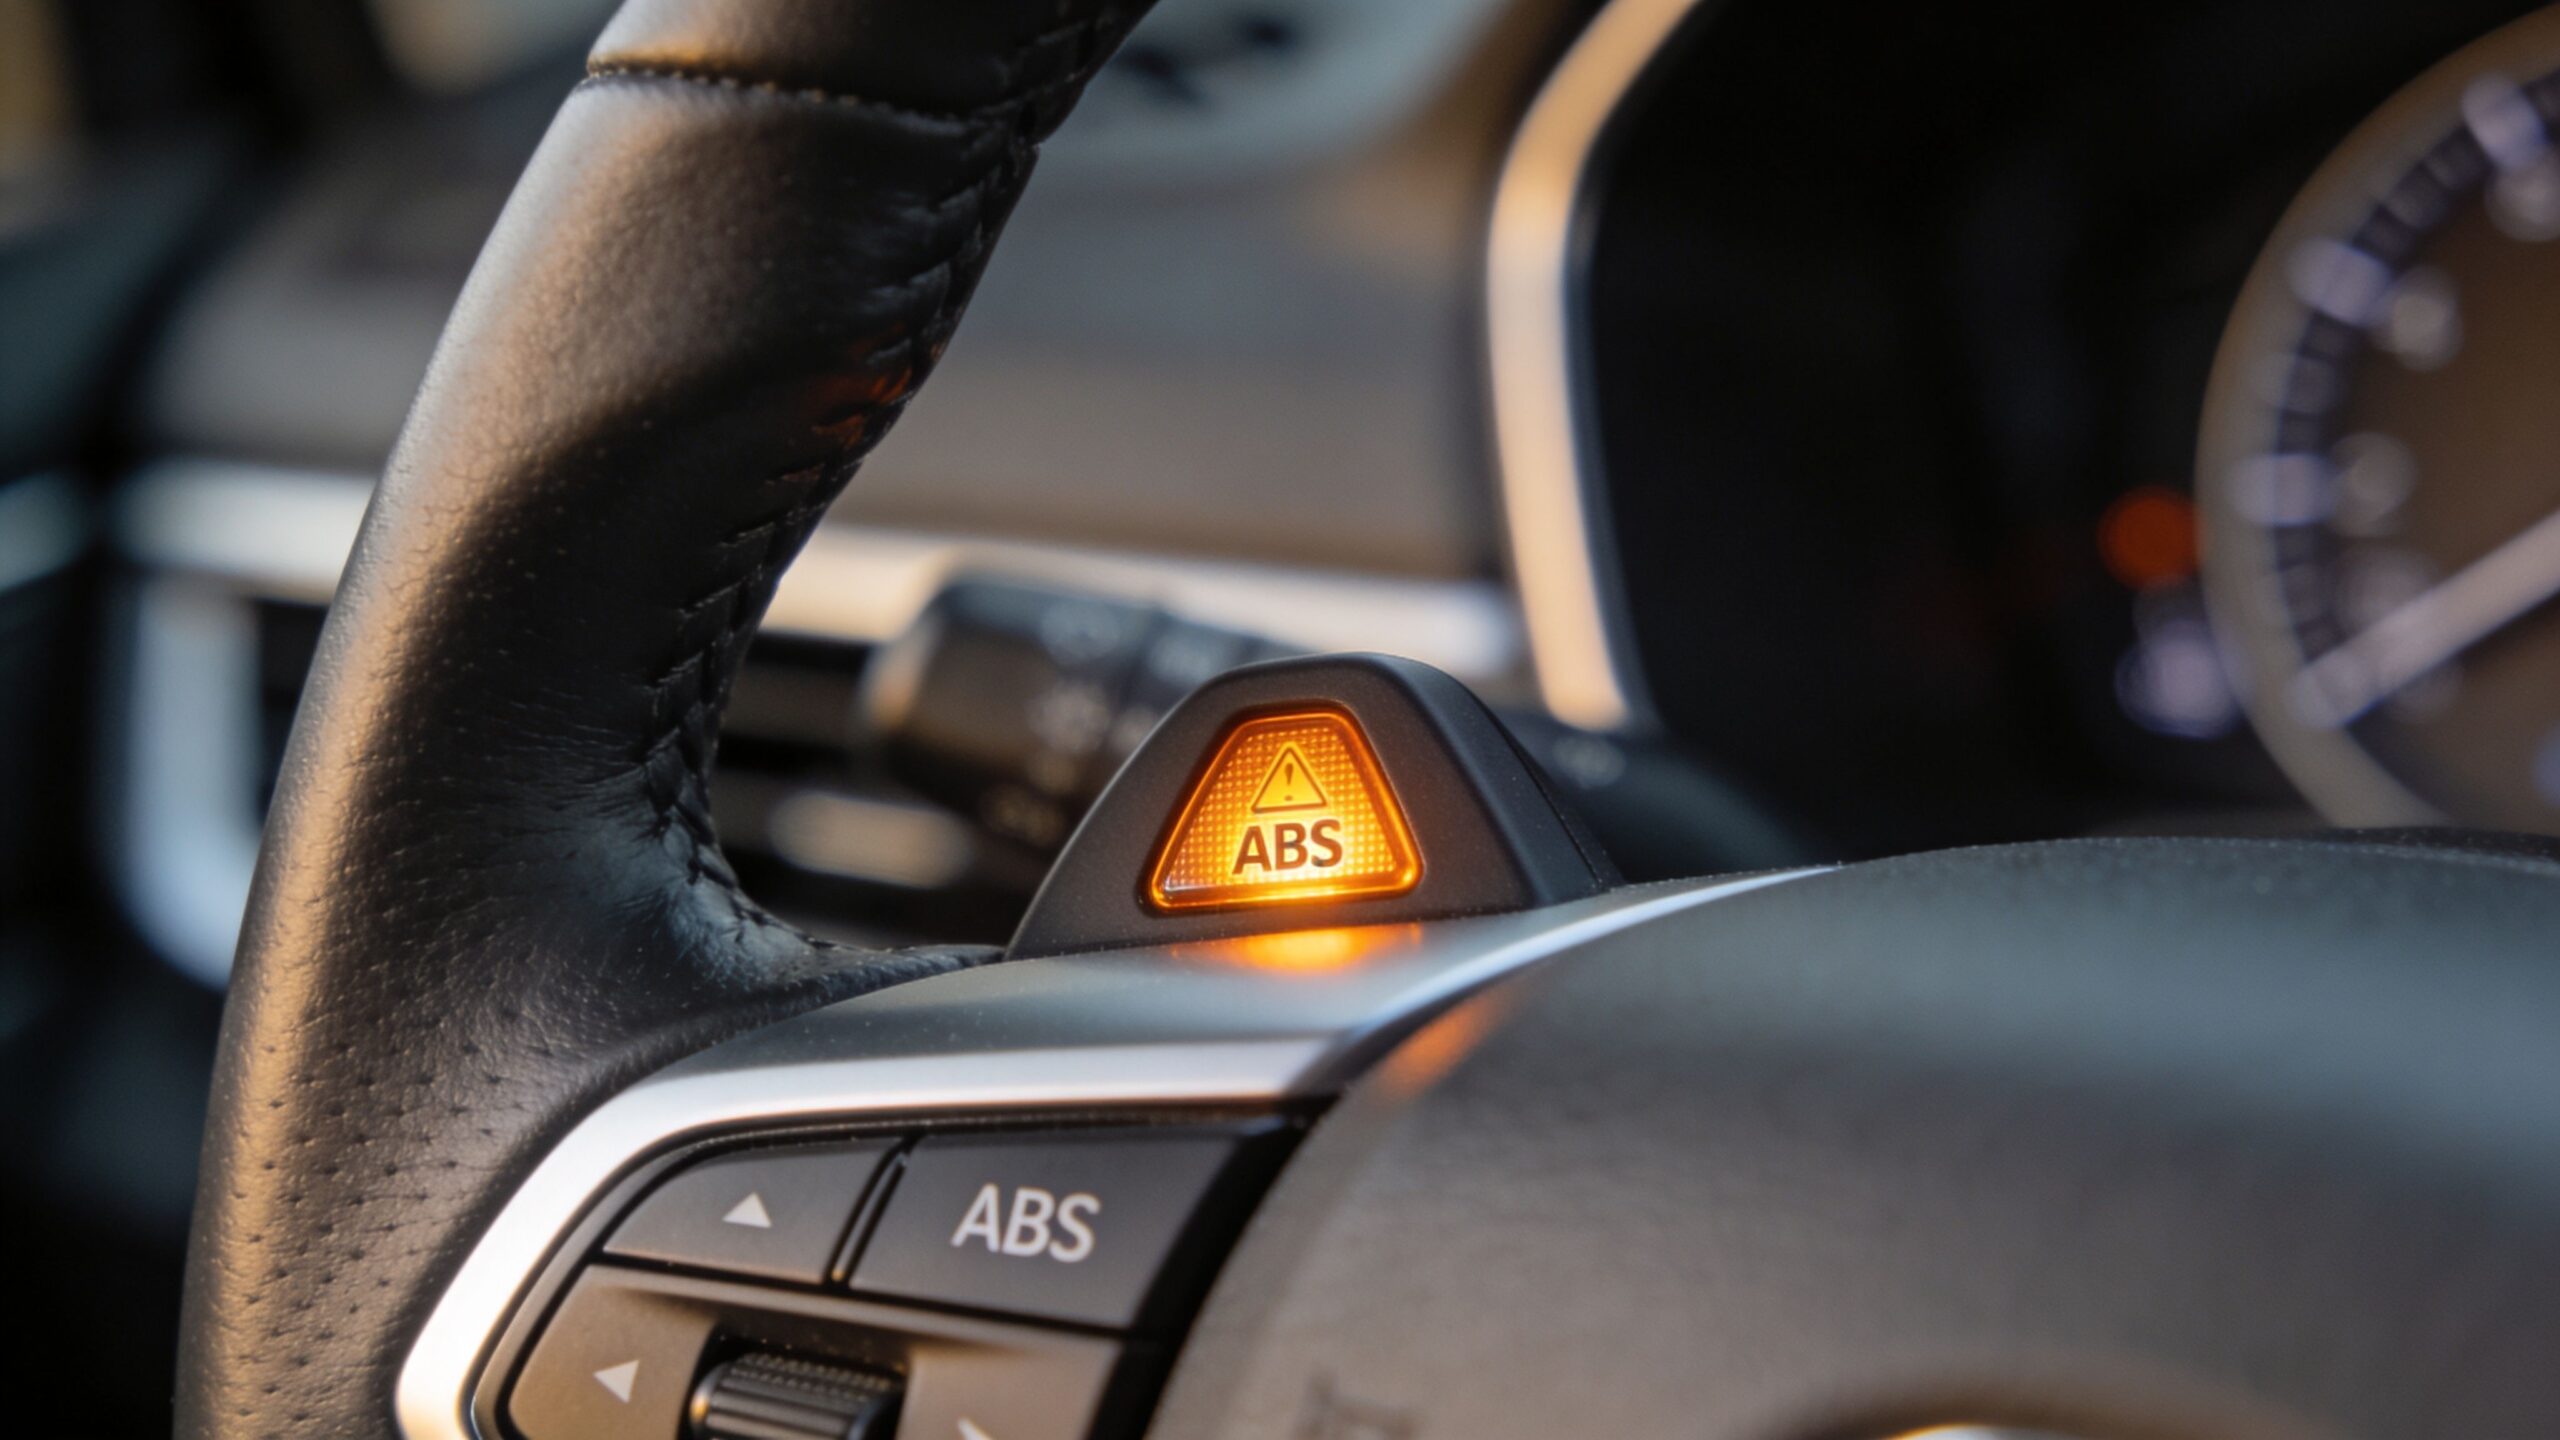
You start the car, back out of the driveway, and notice the amber ABS light glowing on the dash. The brakes may still feel normal, which is exactly why people put it off. That’s a mistake.
When you're repairing abs brakes, the hard part usually isn't turning a wrench. It's figuring out whether you've got a simple sensor issue, a wiring problem, low fluid, collision damage, or a fault deeper in the module or hydraulic unit. Some of those are realistic driveway jobs. Some aren't.
A good ABS diagnosis follows the same rule any seasoned tech follows in the bay. Read the system first, inspect second, replace last. If you skip to parts swapping, you can waste money and still drive away with the warning light on.
That Amber ABS Light What It Means for Your Safety
Your Anti-lock Braking System keeps the wheels from locking during hard braking. When the system works, the vehicle is easier to steer while you're trying to stop on a slick road or during a panic stop. When the ABS light comes on, that safety layer may no longer be available.
Why the warning matters
A lot of drivers hear "the brakes still work" and assume the problem can wait. Sometimes the base hydraulic brakes still function, yes. But ABS isn't a gimmick. It's there for the moments when traction changes fast and you need both braking and steering control.
According to an extensive NHTSA study, ABS reduces overall crash involvement by 6% in cars and 8% in light trucks, and it leads to a 37% reduction in fatal crashes on wet roads for cars (NHTSA ABS study). That's why an ABS light deserves attention even if the pedal still feels okay.
What ABS actually does in a hard stop
Under heavy braking, a wheel can lock and slide. Once that happens, steering authority drops fast. ABS watches wheel speed and cycles brake pressure to help prevent that lockup, especially on wet pavement where grip can disappear in a heartbeat.
For a non-expert driver, the practical takeaway is simple:
- Normal braking may still work: You can often stop the vehicle, but the anti-lock function may be disabled.
- Emergency braking changes: On a slick surface, the car may not stay as manageable under a panic stop.
- The light is diagnostic, not decorative: The system detected a fault and wants a proper check, not guesswork.
Safety rule: An ABS warning light is less about convenience and more about whether the vehicle will stay controllable when the road gets ugly.
Why quick diagnosis beats waiting
Most ABS faults start with something specific. A dirty or damaged wheel speed sensor. Corrosion in a connector. A broken wire near a suspension component. Those problems are easier and cheaper to solve when they're caught early.
Ignore the light long enough and you can miss a bigger pattern. A fluid issue, uneven tire wear confusing the system, or post-impact damage from a curb strike or fender-bender can look minor at first and become harder to sort out later. The smart move is to treat the warning as an inspection trigger, not a dashboard ornament.
How to Diagnose Your ABS Problem at Home
If you're going to try repairing abs brakes yourself, start with diagnosis that narrows the fault instead of guessing at parts. ABS problems usually leave clues. The trick is reading them in the right order.
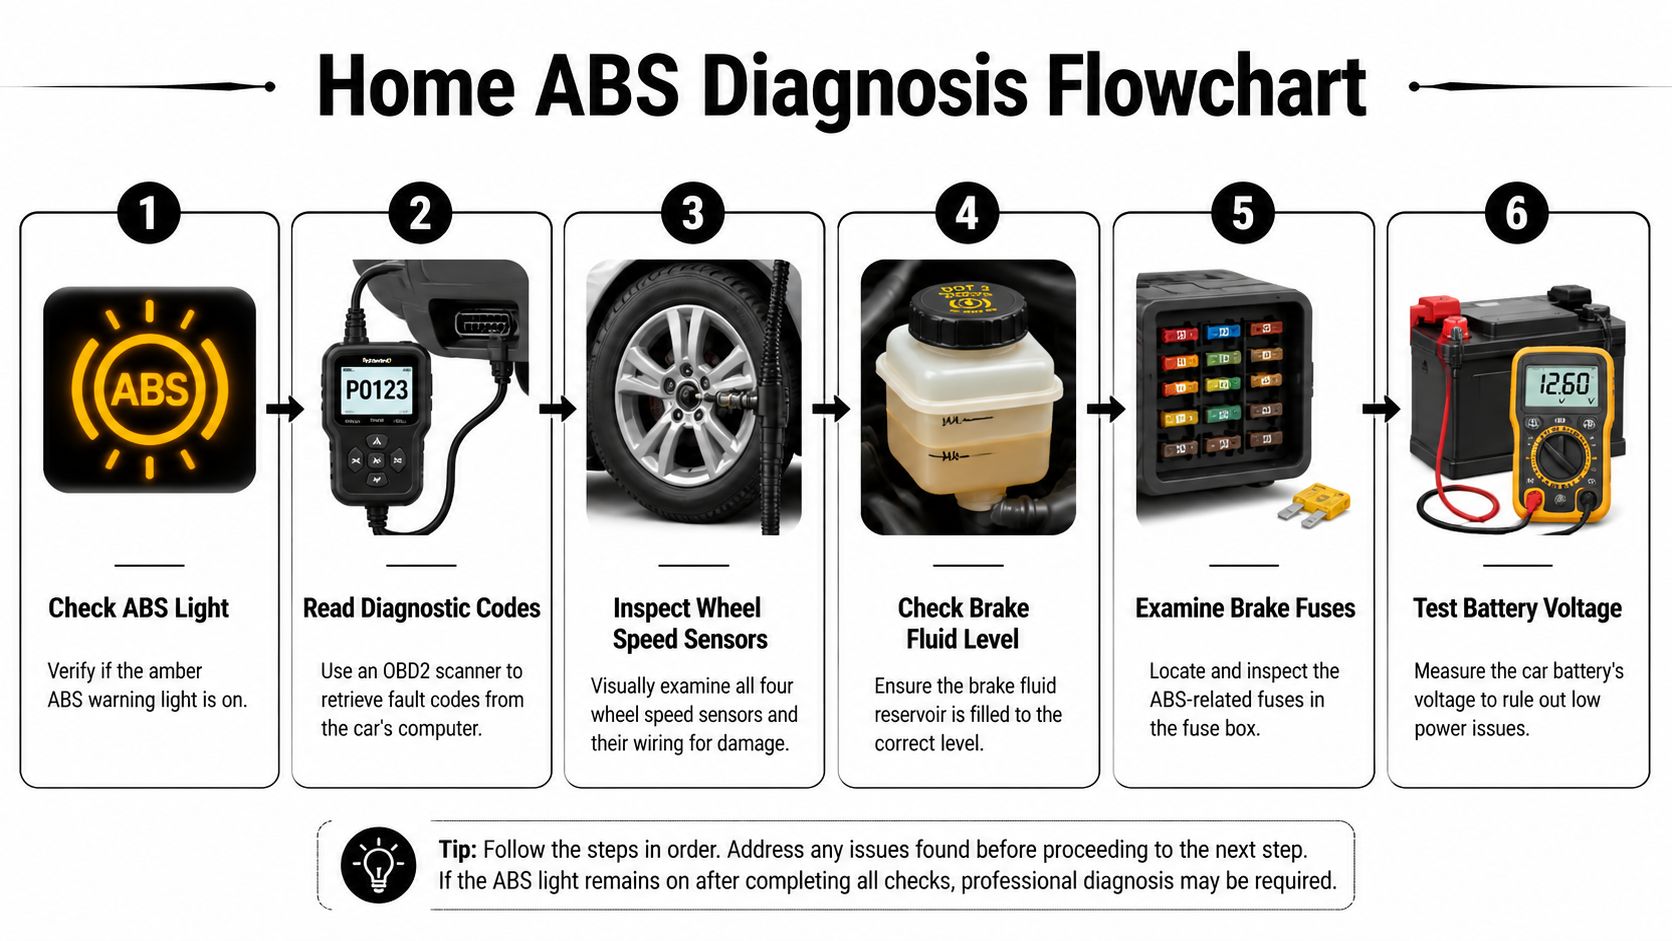
Start with the scan tool
Your first tool should be an OBD-II scanner that can read ABS codes, not just engine codes. Basic code readers often pull powertrain information only, which leaves you blind on brake electronics.
Plug the scanner into the diagnostic port, turn the key on, and pull the stored and pending ABS codes. Write them down before clearing anything. The exact code definitions vary by vehicle, so a code is a direction, not a final answer. If you want a plain-language reference for what blink and fault patterns can point to, T1A Auto's guide to ABS codes is a useful companion while you're sorting through the first pass.
Once you have a code family, think in categories:
- Wheel speed sensor faults usually point you toward one corner of the vehicle.
- Pump or motor faults suggest a deeper issue in the hydraulic or electrical side.
- Module communication or internal faults often push the job beyond a home repair.
- Voltage-related faults can come from low battery condition, poor grounds, or connector problems.
Then do a hands-on inspection
A code never replaces an inspection. It tells you where to look. It doesn't tell you what you’ll find.
Walk around the vehicle and inspect each wheel area. Look for sensor harnesses that got pulled loose, rubbed through, or packed with dirt. Check for connectors with corrosion, broken clips, or moisture intrusion. If the vehicle recently had brake work, suspension work, axle work, or a wheel bearing replacement, inspect that corner first. That's where accidental sensor damage often shows up.
A helpful background read on how these sensors work is this article on what a wheel speed sensor does. It gives useful context before you start testing a suspected sensor circuit.
Before you crawl too far under the vehicle, also check these basics:
- Brake fluid level: Low fluid can create brake system issues that overlap with ABS complaints.
- ABS-related fuses: A blown fuse won't be common compared with sensor faults, but it's quick to verify.
- Battery condition: Low voltage can trigger strange electrical behavior.
- Tire condition: Uneven wear can create inconsistent wheel speed signals and confuse the ABS control module.
Use a process, not hunches
A structured driveway diagnosis usually looks like this:
- Read the ABS codes first: Don't start unplugging components blindly.
- Match the code to a corner or circuit: If one wheel keeps showing up, inspect there closely.
- Check the simple stuff before parts replacement: Fuse, fluid, connector fit, wire routing.
- Compare left to right: If one sensor harness looks different from the opposite side, that's a clue.
- Clear and retest only after the inspection: Otherwise you lose information.
After the visual check, this video is a good visual aid for scanner use and basic fault tracing:
One professional benchmark worth knowing
Most DIYers don't have every factory test procedure, but one shop-level benchmark is worth keeping in mind. A professional diagnostic benchmark for the ABS accumulator requires the pump to charge and shut off within a 45-second window, and if the system needs fewer than three brake pedal applications before the pump re-engages, that points to a failed accumulator (Brake & Front End diagnostic benchmark).
That doesn't mean every home mechanic should perform accumulator diagnosis on every vehicle. It does mean this: if your scan data and symptoms point toward pump, accumulator, or hydraulic unit behavior, you're moving past "clean a sensor and reset the light" territory.
Don't trust a code alone. Trust the code plus what the car shows you during inspection.
Fixing the Most Common ABS Faults Yourself
Once you've identified a likely fault, some ABS repairs are realistic at home. The key is staying in the lane of basic electrical and bolt-on repair, not diving into hydraulic or module work without the equipment to back it up.
The most common ABS failure is a faulty wheel speed sensor, which can become dirty or damaged. Preventive maintenance matters too. Regular brake fluid checks and even tire wear help because inconsistent wheel speed signals can confuse the ABS control module and trigger faults (Knoedler Automotive on ABS repair basics).
Common ABS faults at a glance
| Fault | Common Symptoms | DIY Difficulty | Estimated DIY Cost |
|---|---|---|---|
| Wheel speed sensor | ABS light on, intermittent light, fault tied to one wheel | Moderate | Parts vary by vehicle |
| Sensor wiring damage | ABS light after road debris or recent repair work, intermittent code | Moderate | Usually low if repairing wire only |
| Dirty sensor or debris at tone ring | Intermittent warning, erratic signal behavior | Easy to moderate | Minimal if only cleaning |
| Blown ABS fuse or relay issue | ABS warning appears with no wheel-specific symptom | Easy | Low |
| Module or hydraulic unit fault | Persistent warning, pump-related symptoms, multiple codes | Not recommended for most DIYers | Often better handled professionally |
Replacing a wheel speed sensor
A wheel speed sensor is often the best DIY starting point because access is usually straightforward and the repair stays localized. The exact location varies by design, but most are mounted near the hub, knuckle, backing plate, or axle area.
A basic replacement routine looks like this:
- Scan and confirm the affected wheel. Don't replace all four because one code showed up.
- Lift and support the vehicle safely. Use jack stands on solid ground.
- Remove the wheel. Now trace the sensor wire from the hub area to its connector.
- Inspect before removal. Many "bad sensor" calls are really damaged wiring, rust buildup at the mounting point, or a connector that didn't seat correctly.
- Unbolt the sensor carefully. Rust can lock sensors in place. Work slowly so you don't break the mounting point.
- Clean the mounting surface. Debris or corrosion can affect sensor position and signal quality.
- Install the new sensor and route the harness exactly like the original. Bad routing can lead to repeat failures.
- Reconnect, reassemble, clear the code, and road test.
The biggest mistake I see from DIY repairs is not following the original harness path. If the wire sits too close to the tire, axle, or suspension travel path, the light comes back and the new sensor gets blamed for a routing mistake.
If access is tight behind the knuckle or backing plate, a small inspection camera helps confirm clip locations and hidden harness damage. A USB-C compatible borescope can make that kind of inspection much easier when you don't have direct line of sight.
Shop-floor habit: Clean the mounting area before installing the new sensor. A good sensor sitting on a rusty surface can still give you a bad signal.
Repairing wiring problems
Wiring faults are common on older vehicles and on anything that sees road grime, heat, and suspension movement. The damage may be obvious, like rubbed-through insulation, or subtle, like a wire broken inside the insulation near a bend.
Inspect the harness from the sensor back to the body connector. Look for:
- Chafing marks: Often where the harness touched a control arm, strut, or tire.
- Broken retaining clips: Once clips fail, the wire starts moving where it shouldn't.
- Green or white corrosion: A strong sign the connector has seen moisture.
- Previous repair splices: Some are fine. Some are twisted together and wrapped in tape.
If you repair a wire, use a method that seals out moisture and supports the harness so it won't flex at the splice. A sloppy repair may work long enough to turn the light off and fail again the first time the suspension cycles hard.
For related brake hardware inspection, this guide on how to inspect brake rotors is worth reviewing if you're already in the wheel area and want to check the rest of the braking system while you're there.
Cleaning sensor areas and checking the tone ring
Not every sensor code means the sensor itself failed. Dirt, metallic debris, rust scale, or damage at the tone ring can distort the signal enough to trigger the warning.
This is one of the most overlooked driveway checks:
- Remove the sensor if access allows.
- Clean the area gently.
- Inspect the tone ring or encoder area for heavy contamination or visible damage.
- Compare the suspect side to the opposite side.
If one side has chipped teeth, packed debris, or obvious physical damage, replacing the sensor alone won't solve anything. You'll clear the code, drive a bit, and the light will return.
Fuses and relays
This is the easiest ABS check and one of the fastest to rule out. Locate the fuse box, identify the ABS fuse or relay, and inspect it according to the vehicle service information. If a fuse is blown, don't stop at replacement. Ask why it failed. A fuse that opens again points to a deeper electrical issue.
Relays can also create intermittent faults, especially if the contacts are worn or the connector fit is poor. But if a relay test leads you into advanced electrical diagnosis and you don't have a meter or wiring diagram, that's usually the point to stop and get help.
What usually doesn't work
Parts cannon repairs waste time. So do generic internet shortcuts.
Avoid these common mistakes:
- Replacing parts based on symptom only: ABS light doesn't automatically mean "sensor."
- Clearing codes before writing them down: You remove the trail you needed.
- Using household cleaners on connectors: Some leave residue or damage seals.
- Ignoring tire size or wear differences: ABS reads wheel speed. Mismatched rolling diameter can create strange behavior.
- Forcing stuck sensors out: That can turn a manageable job into hub or knuckle damage.
If you're careful with diagnosis, sensor replacement, basic wiring repair, and fuse checks are realistic home jobs. Once the fault moves into hydraulic pressure control, module logic, or repeated unexplained codes, the smart move changes.
Required Tools Parts and Cost Estimates
ABS work goes smoother when your cart is stocked before the vehicle is in the air. You don't need a dealership tool room for every basic repair, but you do need the right mix of scan capability, electrical testing, and safe lifting equipment.

The basic tool set
For most DIY ABS diagnosis and minor repair, keep these on hand:
- ABS-capable scan tool: This is the difference between informed diagnosis and guessing.
- Digital multimeter: Useful for checking power, ground, continuity, and basic circuit health.
- Jack, jack stands, and wheel chocks: No shortcuts here.
- Socket set and ratchet assortment: Sensor bolts and wheel hardware vary by vehicle.
- Torque wrench: Important when reinstalling wheels and some brake-related fasteners.
- Trim tools or small picks: Helpful for connector locks and harness retainers.
- Brake cleaner and shop towels: For cleaning mounting surfaces and inspection areas.
- Flashlight or inspection light: Good visibility saves time and broken clips.
Parts choices matter
For many vehicles, you can choose between OEM and aftermarket sensors, connectors, relays, and modules. In the bay, the safest rule is simple. Use a quality part from a supplier you trust. ABS systems are sensitive to signal quality, so this isn't the place for mystery-brand electronics.
On sensors, compare the connector shape, harness length, mounting tab, and sealing surfaces before installation. If any of that looks off, stop before bolting it in and creating a second problem.
What the repair may cost
Wheel speed sensor replacement is the most frequent ABS repair, and it typically costs $150 to $250 per wheel at a professional shop. Other repairs can range from $350 to $800 for an ABS control module fix and over $1,200 for a hydraulic modulator replacement (ABS repair cost ranges).
That spread tells you something important. DIY makes the most sense when the fault is localized and accessible, like one sensor or a visible wiring issue. The financial advantage narrows fast when you need repeated diagnosis, specialty bleeding procedures, or advanced electrical tracing.
A realistic DIY decision test
Before ordering parts, ask yourself four practical questions:
- Can I identify the failed part with confidence?
- Do I have the tools to verify the repair after installation?
- Will this job open the hydraulic system or affect brake pressure control?
- If the first repair doesn't solve it, do I know the next diagnostic step?
If your answer falls apart at question three or four, the home repair may stop being a savings and start becoming a delay.
Buying one sensor and proving the fix is smart. Buying a sensor, then a module, then a pump because the light stayed on is not.
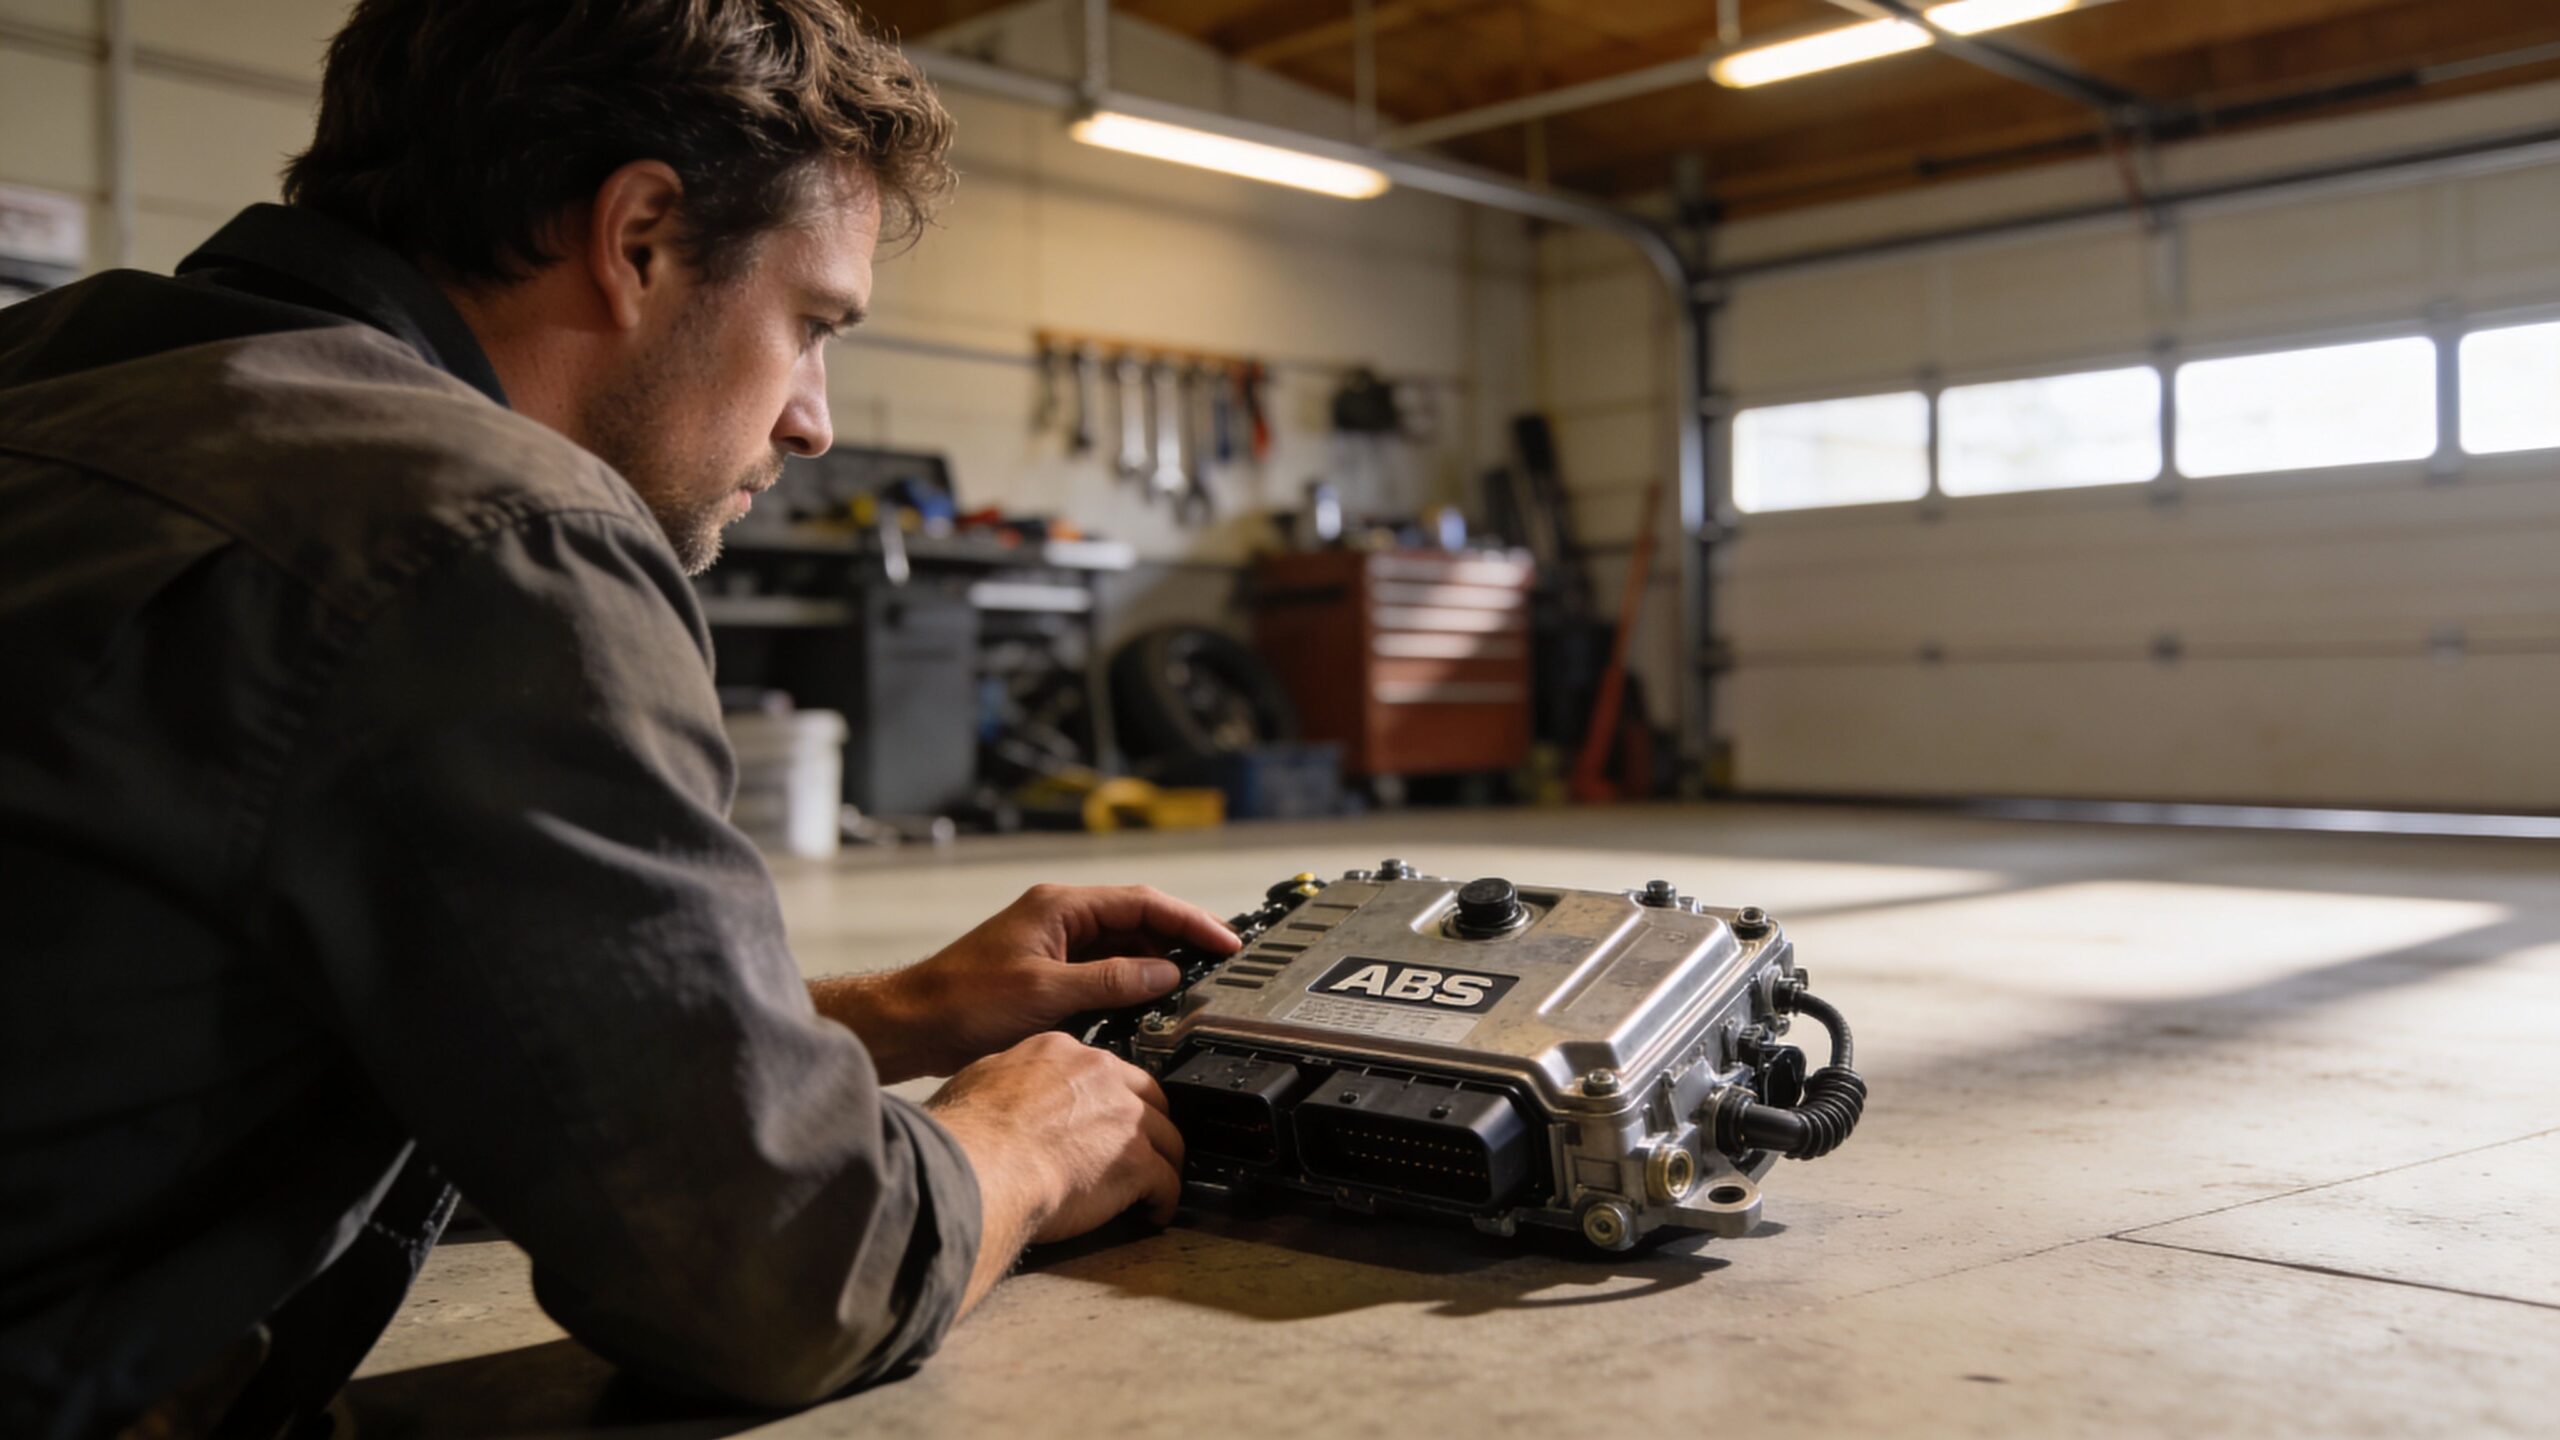
When to Skip DIY and See a Professional
Some ABS repairs look simple from the outside and get expensive the moment the wrong part is removed. In such cases, good judgment matters more than confidence.
If your diagnosis points to the ABS control module, hydraulic unit, or a problem that requires brake line work and advanced bleeding, it's time to stop calling it a driveway project. These systems combine electronics, hydraulic pressure, and vehicle-specific testing procedures. A mistake doesn't just keep the warning light on. It can change how the vehicle brakes.
The hard line between DIY and pro work
Home repairs usually make sense when the work stays in one of these areas:
- Visible sensor replacement
- Basic harness repair
- Fuse and relay checks
- Simple inspections after reading fault codes
Professional help becomes the better call when you run into:
- Module internal faults
- Pump motor or accumulator issues
- Hydraulic modulator faults
- Repeated codes after a verified sensor replacement
- Brake fluid contamination or bleeding procedures tied to ABS activation
- Multiple system codes with no obvious physical fault
If the vehicle needs guided diagnostic routines, bidirectional scan tool functions, oscilloscope testing, or hydraulic verification, you're outside normal DIY territory.
Post-collision ABS faults get missed all the time
This is the blind spot many standard guides skip. Post-collision ABS repairs are frequently overlooked. A minor impact can crack brake lines or chip tone ring teeth, causing ABS light activation that mimics sensor failure but requires professional inspection to diagnose correctly and prevent serious safety risks (post-collision ABS warning signs).
That matters after more than just a major wreck. A parking lot hit, curb strike, front-end bump, or suspension impact can disturb parts that ABS depends on. You may have no obvious body damage and still have:
- A bent sensor bracket
- A damaged harness connector
- A cracked line or leaking component
- Metallic debris affecting signal quality
- A tone ring with chipped or missing teeth
Those faults often fool DIYers because the warning light shows up after impact and the first instinct is to replace the sensor. Sometimes the sensor is innocent.
If the ABS light appeared after any collision or curb impact, inspect for physical damage before you order electronics.
What professionals can verify that most DIYers can't
A qualified brake and ABS shop doesn't just read codes and bolt on parts. A proper diagnosis can include signal verification, hydraulic checks, pinpoint electrical testing, and post-repair confirmation that the system now behaves normally under real braking conditions.
That matters most when symptoms overlap. A bad module can mimic a sensor problem. Collision damage can mimic a bad caliper or master cylinder concern. Contaminated fluid can contribute to deeper ABS component issues. The further the diagnosis gets from "one wheel, one code, one visible fault," the more valuable trained testing becomes.
If you're at that point, getting a proper professional brake repair inspection in Plano is a safer move than trying to outguess a safety system in the driveway.
A simple rule to follow
If your repair plan involves opening hydraulic lines, replacing the module, fighting seized brake fittings, or diagnosing a fault that started after an accident, skip DIY. Save your energy for the repairs that fit your tools and experience.
Frequently Asked Questions About ABS Brakes
Is it safe to drive with the ABS light on
The vehicle may still have normal braking, but the anti-lock function may be disabled. That means the car can behave differently in a panic stop, especially on wet or slippery pavement. Drive only as much as needed to get the problem diagnosed.
What’s the difference between the ABS light and the brake warning light
They don't mean the same thing. The ABS light points to a fault in the anti-lock system. The main brake warning light can indicate a more direct brake system issue, such as low fluid or another condition affecting basic braking. If both are on, treat that as more urgent than an ABS light by itself.
Can a bad wheel bearing trigger the ABS light
Yes, it can. If the bearing has enough play or the integrated encoder area is damaged, the wheel speed signal can become erratic. That can look like a sensor fault even when the deeper issue is in the hub assembly.
Will cleaning a sensor fix the problem
Sometimes. Dirt or debris can interfere with the signal, and cleaning may help if contamination is the actual problem. It won't fix a cracked sensor body, damaged wiring, bad tone ring, or internal module fault.
Should I clear the code and see if it comes back
Only after you record the code and inspect the likely fault area. Clearing first removes useful information. Clearing after a repair is part of verification.
Does ABS always shorten stopping distance
Not on every surface. The main benefit is maintaining control and steering during hard braking. That's why keeping the system functional still matters even if drivers sometimes misunderstand what ABS is designed to do.
When is a no-question professional diagnosis the right call
Any time the issue involves hydraulic components, module faults, repeated unexplained codes, or warning lights after a collision. That's also true if the pedal feel changes along with the warning light.
If your ABS light is on and you want a clear answer without wasting time on guesswork, Express Lube & Car Care can help. Their ASE-certified team in Plano handles brake diagnostics and repair with modern equipment, honest recommendations, and the convenience of no-appointment service, so you can get the problem identified and fixed before it turns into a bigger safety risk.