

If you hear clunking over bumps and the rubber bushing looks cracked but accessible, a press-in bushing kit and basic tools can handle it. If sleeves are rusted, the bushing is bonded into a vertical mount, or you lack a press, a preassembled control arm or a professional shop is the safer route. Either way, a wheel alignment follows the job, and such inspection and repair work is typically offered by professional automotive service centers.
TL;DR:
- Clunks paired with steering pull, vague highway steering, vibration, or uneven front tire wear point to bushing play; inspect for torn rubber and excess movement.
- MOOG reports bonded vertical bushings on several late model vehicles can fail by 30,000 miles; polyurethane lasts longer but transmits more road noise.
- Corroded sleeves can turn replacement into extraction involving heat, penetrants, or cutting; get a written estimate for parts, labor, and alignment.
- Skipping alignment after replacing a control arm can recreate uneven tire wear because the repair changes camber and caster angles.
- A service bulletin warns that incorrect tightening order can leave noise after installation; follow the vehicle manual and recheck fasteners after a short drive.
Table of Contents
- How to recognize failing control arm bushings
- Parts and material choices: rubber bushings, polyurethane, or complete control arm assemblies
- High-level replacement overview: what the job involves
- Tools you’ll need and realistic parts and labor cost drivers
- Verification after the job: alignment, test drive, and recheck
- How Express Lube & Car Care handles control arm bushing and suspension work
- Practical guidance: choose DIY only when you have the tools and a clear plan
- Schedule an inspection or control-arm service at Express Lube & Car Care
- FAQ
- Sources
How to recognize failing control arm bushings
Worn control arm bushings rarely fail quietly. The rubber or polyurethane sleeve that cushions the control arm’s connection to the frame breaks down over time, and the symptoms show up in how the car rides and handles.
- Clunks or creaks over bumps, potholes, or during hard braking as metal contacts metal where rubber used to cushion the joint.
- Steering wander or a vague, disconnected feel, especially at highway speed.
- Uneven tire wear, often on the inner or outer edge of the front tires, from altered alignment angles.
- Vibration or looseness in the front end, sometimes felt through the steering wheel or floorboard.
A quick visual check helps confirm the diagnosis: look for cracked, torn, or separated rubber around the bushing, and check for grease or dirt pushed out from the sleeve. A pry bar or large screwdriver placed near the bushing while a second person watches for movement can reveal excess play. If you notice a clunk paired with a steering pull or a tire that is wearing unevenly, treat it as urgent. Our 8 Point ASE Inspection and 5 Prep Steps article walks through a similar diagnostic process if you want to confirm the noise before deciding on parts.
Parts and material choices: rubber bushings, polyurethane, or complete control arm assemblies
OE rubber bushings prioritize ride comfort and noise control, but that same softness is what eventually fails. Rubber bonded to a metal sleeve can separate from the housing, and MOOG’s own technical bulletin on vertical bushing failure notes this can happen as early as around 30,000 miles on several late-model vehicles, which also makes the bolt difficult to remove during service.
Polyurethane bushings respond firmer and resist wear longer, though they can transmit more road noise and vibration into the cabin than rubber.
- OE rubber: quiet ride, predictable feel, shorter service life in some applications.
- Polyurethane: firmer handling, longer-lasting material, more noticeable road feedback.
- Preassembled control arms: the bushing comes pressed into a new arm, skipping the press-out step entirely.
Shops often prefer swapping the whole arm when sleeves are rusted or corroded, since pressing out a seized bushing can damage the arm itself. MOOG’s bulletin also describes sealed, permanently lubricated designs and ball-and-socket geometries engineered specifically to avoid the separation failure mode and ease installation.
Pro Tip: If your vehicle has a bonded vertical bushing prone to separation, a preassembled arm with a sealed design is often less frustrating than trying to press a replacement bushing into a worn-out sleeve.
High-level replacement overview: what the job involves
A control arm bushing job follows a fairly consistent sequence, whether it is done in a driveway or a service bay.
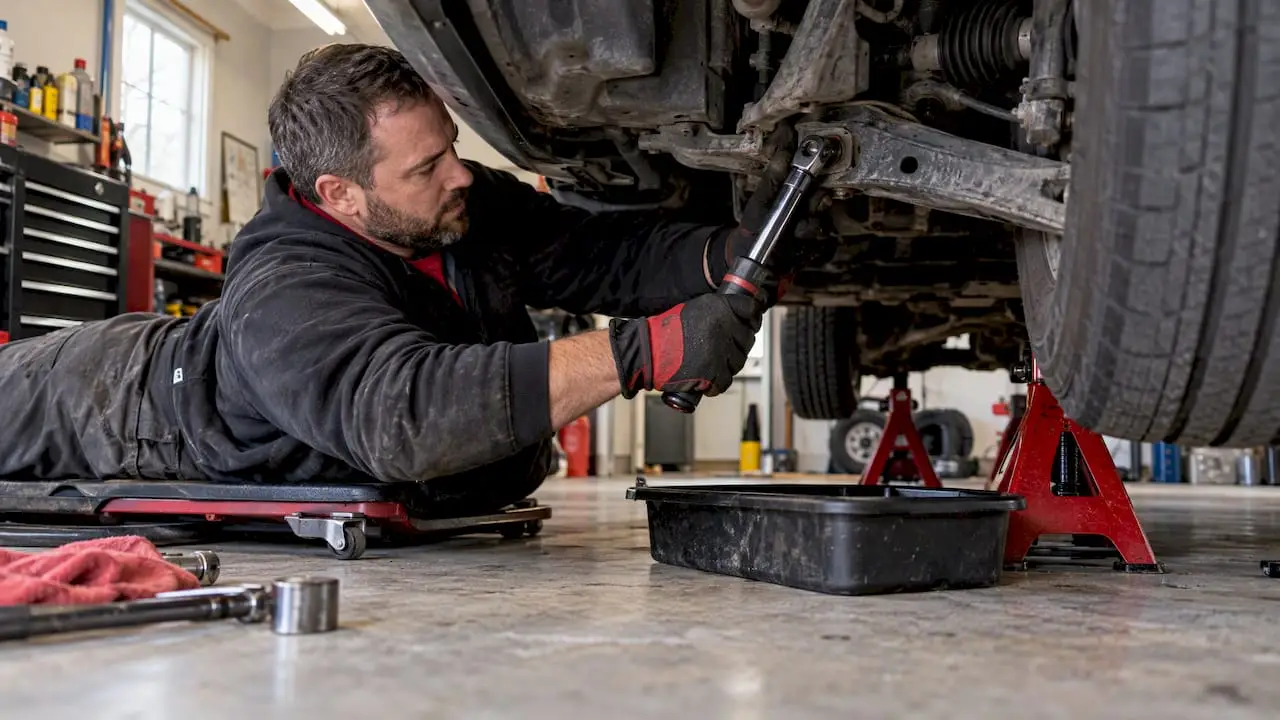
- Lift and support the vehicle securely on jack stands rated for the vehicle’s weight, never on a jack alone.
- Remove the wheel to access the control arm and its mounting points.
- Detach the control arm from the ball joint, frame, and sway bar links as needed.
- Press out the old bushing using a hydraulic press or bushing tool, or swap in the new preassembled arm.
- Reinstall the control arm and torque all fasteners to the sequence specified in the vehicle’s service manual.
- Reinstall the wheel and lower the vehicle before a road test.
DIYers most often get stuck at step three or four: rusted sleeves can seize fasteners in place, and pressed-in bushings sometimes require specialty tools that a home garage does not have. If a bolt will not budge after reasonable penetrating lubricant and patience, that is a reasonable point to stop and bring the vehicle to a shop rather than risk a snapped bolt or damaged arm.
Torque sequence matters more than it might seem. A service bulletin covering certain Buick Enclave model years specifically warns that incorrect torque sequence during front lower control arm bushing installation can cause continued noise, which is a reminder that the service manual’s torque specs and tightening order are not optional steps. The SEMA aftermarket industry group also publishes general installation and safety guidance that is worth reviewing before starting suspension work at home.
Tools you’ll need and realistic parts and labor cost drivers
A basic bushing swap calls for a socket set, breaker bar, torque wrench, and a ball-joint separator. Pressed-in bushings add a hydraulic press or a rental press kit to the list, along with penetrating lubricant for stubborn fasteners.
- Parts: individual bushings, complete bushing kits, or full preassembled control arms, each priced differently depending on the vehicle and brand.
- Labor: rises when corrosion has seized sleeves or fasteners, since extraction can take significantly longer than a straightforward swap.
- Added services: a wheel alignment is typically needed after the repair, which adds to the total job cost.
Shops often quote higher labor on corroded vehicles because what looks like a one-hour bushing swap can turn into an extraction job requiring heat, penetrants, or cutting seized hardware once the sleeve won’t budge.
MOOG’s bulletin notes that some OE-style bonded bushings separate from their sleeve well before typical suspension component lifespans, which is part of why certain sealed or ball-and-socket aftermarket designs exist specifically to address that failure pattern.
Verification after the job: alignment, test drive, and recheck
Replacing a control arm or its bushing changes the geometry that controls camber and caster, the angles that keep your tires tracking straight and wearing evenly. Technician guidance on alignment after control arm replacement is consistent on this point: skipping the alignment after the repair tends to cause the same uneven tire wear that may have prompted the repair in the first place.
- Re-torque fasteners after a short break-in drive to confirm nothing has loosened.
- Listen for new noises that weren’t present before the repair.
- Watch for steering pull or vibration that suggests the alignment still needs attention.
Pro Tip: Budget the alignment into the job from the start rather than treating it as optional; it’s part of finishing the repair correctly, not an add-on. If symptoms persist after a recheck, that’s a sign to return to the shop rather than keep driving on it. Our alignment signs article covers additional warning signs worth watching for.
How Express Lube & Car Care handles control arm bushing and suspension work
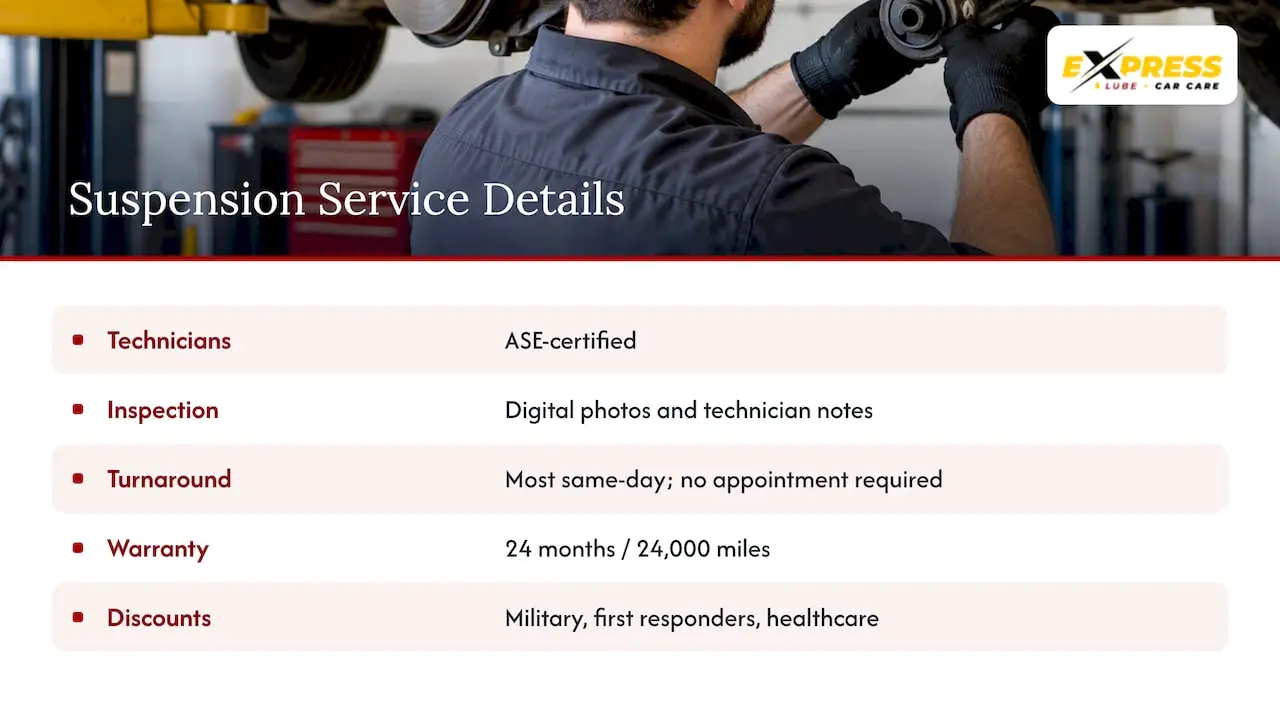
We handle control arm bushing and broader steering and suspension repair with ASE-certified technicians, alongside related work like shocks and struts. Every inspection includes digital photos and technician notes so you can see exactly what we found before approving a repair, and most suspension services run same-day with no appointment required. Repairs are backed by our 24-month/24,000-mile warranty, and we offer discounts for military, first responders, and healthcare professionals.
Practical guidance: choose DIY only when you have the tools and a clear plan
DIY makes sense when sleeves are clean, tools are on hand, and the service manual’s torque sequence is in front of you, especially if you follow a detailed dealer inspection checklist for classics that covers older vehicle suspension components. Seized hardware or bonded vertical bushings call for a press and experienced hands. Either path ends with an alignment.
— Express Lube & Car Care
Schedule an inspection or control-arm service at Express Lube & Car Care
Diagnosing a clunk from the driver’s seat only goes so far. We offer same-day suspension inspections with no appointment needed, with digital photos and technician notes so you know exactly what’s worn before any work begins.

Our team handles the torque sequence and the follow-up alignment as part of the repair, not as an afterthought. Browse our steering and suspension repair services or stop by to get a straight answer on what your front end needs.
FAQ
What will bad control arm bushings do?
Worn control arm bushings cause clunking or creaking over bumps, a loose or wandering steering feel, and uneven tire wear from shifted alignment angles. Left unaddressed, the play can worsen and affect handling precision and tire life.
How much does it cost to replace your control arm bushings?
Cost depends on whether you need individual bushings, a kit, or a full preassembled control arm, plus labor that rises when sleeves are corroded or seized. A wheel alignment is typically needed afterward and adds to the total, so ask your shop for a written estimate covering parts, labor, and alignment.
Can you drive with worn control arm bushings?
Driving short distances with mild bushing wear is common, but continued driving on badly worn or separated bushings can affect steering control and accelerate tire wear. If you notice a steering pull, vibration, or a loud clunk, have it inspected before the issue worsens.
Can I replace control arm bushings only?
Yes, when the bushing is accessible and the sleeve isn’t rusted, a press-in bushing kit can replace just the bushing without swapping the whole arm. If the sleeve is seized or the bushing is a bonded vertical design, a preassembled control arm is often the more reliable fix, as MOOG’s technical bulletin notes for certain bonded bushing designs.
Sources
- Troubleshooting vertical control arm bushing failure | MOOG Parts
- Replace Buick arm bushing | Vehicle Service Pros
- Alignment after control arm replacement: essential guide | GJ Bush
- SEMA