

Disconnecting a car battery is a fundamental skill for vehicle maintenance, but it requires adherence to a critical safety protocol to prevent electrical damage or personal injury. Following the correct procedure is essential.
The single most important principle to understand is this: always disconnect the negative (-) terminal first, before interacting with the positive (+) terminal. This step is not arbitrary; it is the cornerstone of a safe disconnection process, designed to prevent an accidental short circuit.
Why Is the Disconnection Order So Important?
A comprehensive understanding of how to disconnect a battery is foundational for any vehicle owner. This knowledge is the first step for numerous common tasks, from replacing the battery itself to performing work on the vehicle's electrical system. Mastering this procedure builds the confidence to handle basic maintenance and avoid costly, preventable errors.
The "negative-first" rule is not an old mechanic's tale; it is an industry-standard practice rooted in electrical science. As automotive systems grew more complex in the early 1990s, technicians recognized that uncontrolled electrical surges could instantly destroy a vehicle's main computer, the Engine Control Unit (ECU). By 1995, over 75% of U.S. repair shops had mandated correct battery disconnection as a preliminary step for electrical repairs.
Data indicates that improper handling is a contributing factor in approximately 12% of all vehicle electrical failures annually. Fortunately, following the correct procedure reduces this risk by over 90%. For those interested in the evolution of automotive maintenance, you can review exploring market research on the topic.
Before beginning, a preliminary safety check is essential. The following table outlines the critical pre-disconnection actions.
Quick Safety Checklist Before You Begin
| Action Item | Reason Why It's Critical |
|---|---|
| Wear safety glasses and gloves | Protects eyes from potential sparks and hands from battery acid or corrosive materials. |
| Work in a well-ventilated area | Batteries can release flammable hydrogen gas during operation and charging. |
| Have the correct tools ready | A terminal wrench or properly sized socket is necessary to avoid stripping the soft metal nuts. |
| Turn the vehicle completely off | Ensure the ignition is off and keys are removed to eliminate any electrical load. |
Completing this checklist is a brief but vital measure to ensure a safe working environment.
Common Reasons to Disconnect a Battery
Understanding the purpose behind disconnecting a battery reinforces the importance of proper procedure. Common scenarios include:
- Performing Electrical Work: When replacing components like a headlight, alternator, or stereo, disconnecting the battery is a mandatory safety measure.
- Long-Term Vehicle Storage: A disconnected battery is isolated from the vehicle's low-level "parasitic draw" (e.g., clocks, security systems), preserving its charge over time.
- Replacing the Battery: The old battery must be fully disconnected before a new one can be installed.
- Resetting Onboard Computers: Occasionally, disconnecting the power can serve as a "hard reboot" to clear minor electronic glitches or a persistent check engine light.
Key Takeaway: The "negative-first" rule acts as the ultimate safety measure. A vehicle's metal chassis serves as the electrical ground, connected to the negative terminal. By removing the negative cable first, you interrupt the ground circuit. Consequently, if a tool accidentally touches the positive terminal and a metal part of the vehicle, no electrical path exists, and no spark occurs.
Preparing Your Workspace and Gathering Your Tools
Proper preparation is key to a smooth and safe battery disconnection. Begin by parking the vehicle on a level surface, preferably in a garage or a well-ventilated, shaded area.
Since batteries can vent flammable hydrogen gas, ensure the workspace is free from any potential ignition sources like sparks or open flames. The engine must be off, and the keys should be removed from the ignition to prevent any electrical activity.
Locating the Battery and Your Tools
The first step is to identify the battery's location. In most vehicles, it is located under the hood. However, for reasons of weight distribution or design, some manufacturers place it in the trunk or under a seat.
- Consult Your Owner’s Manual: This is the most reliable method for finding the battery's exact location.
- Under the Hood: Look for a rectangular box, typically black, with red and black plastic covers over the two terminals.
- In the Trunk: On certain vehicles, like many BMW or some Chrysler models, the battery may be behind a panel on the right side of the trunk.
Once the battery is located, gather the necessary tools. This task does not require an extensive collection.
Using an ill-fitting tool, such as adjustable pliers, is a common mistake. The soft lead of the terminal nuts can be easily stripped, turning a simple 10-minute task into a significant complication. Always use a wrench or socket that fits the nut securely.
Your Essential Tool and Supply Checklist
Having all necessary items readily available streamlines the process and enhances safety.
Required Tools:
- Wrench or Socket Set: A 10mm wrench or socket is the most common size for battery terminals, but it is wise to have a small set available to accommodate variations.
- Safety Glasses and Insulated Gloves: These are non-negotiable safety items that protect against accidental sparks and potential battery acid exposure.
Recommended Supplies:
- Battery Terminal Cleaner: A specialized spray can effectively dissolve corrosion.
- Wire Brush: This is ideal for scrubbing the battery posts and cable clamps clean once disconnected.
- Memory Saver (Optional): This device plugs into the vehicle's OBD-II port, providing power to retain radio presets, clock settings, and other electronic memory. Additionally, understanding your battery's health is beneficial; our guide on the ideal car battery voltage chart can provide valuable insight.
Getting Hands-On: The Disconnection Process
With your safety equipment in place and tools organized, you can proceed with the disconnection. This process is defined by a strict order of operations designed to protect you and the vehicle's sensitive electronic systems.
First, put on your safety glasses and insulated gloves. This is a critical step for protection against potential electrical arcing or contact with battery acid.
Identifying Terminals and Beginning the Process
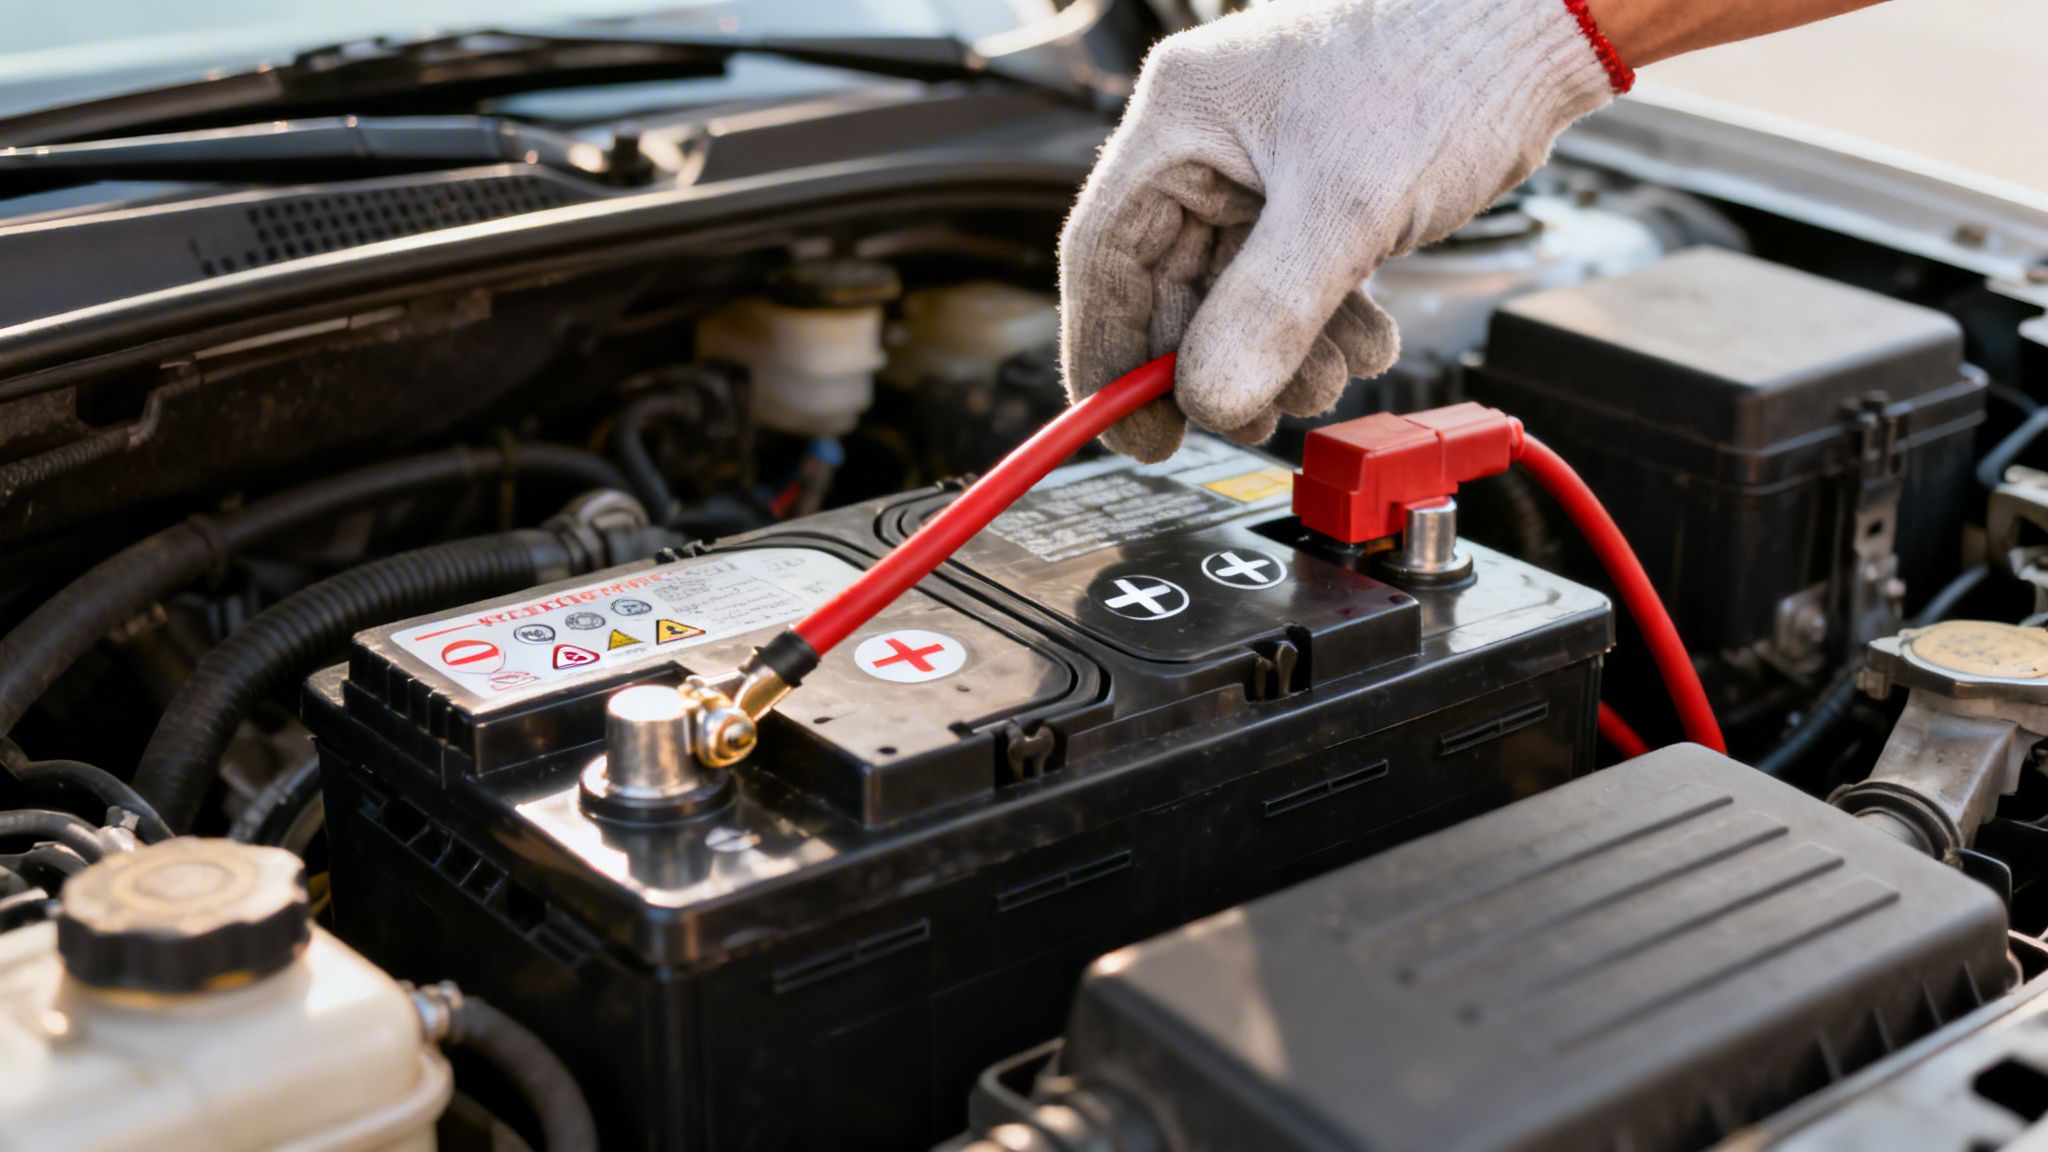
Open the hood and locate the battery's two terminals. The negative (-) terminal is typically marked with "NEG" or a minus sign and often has a black cover. The positive (+) terminal is marked with "POS" or a plus symbol and usually has a red cover.
A quick mental review of the steps before you begin can prevent errors.
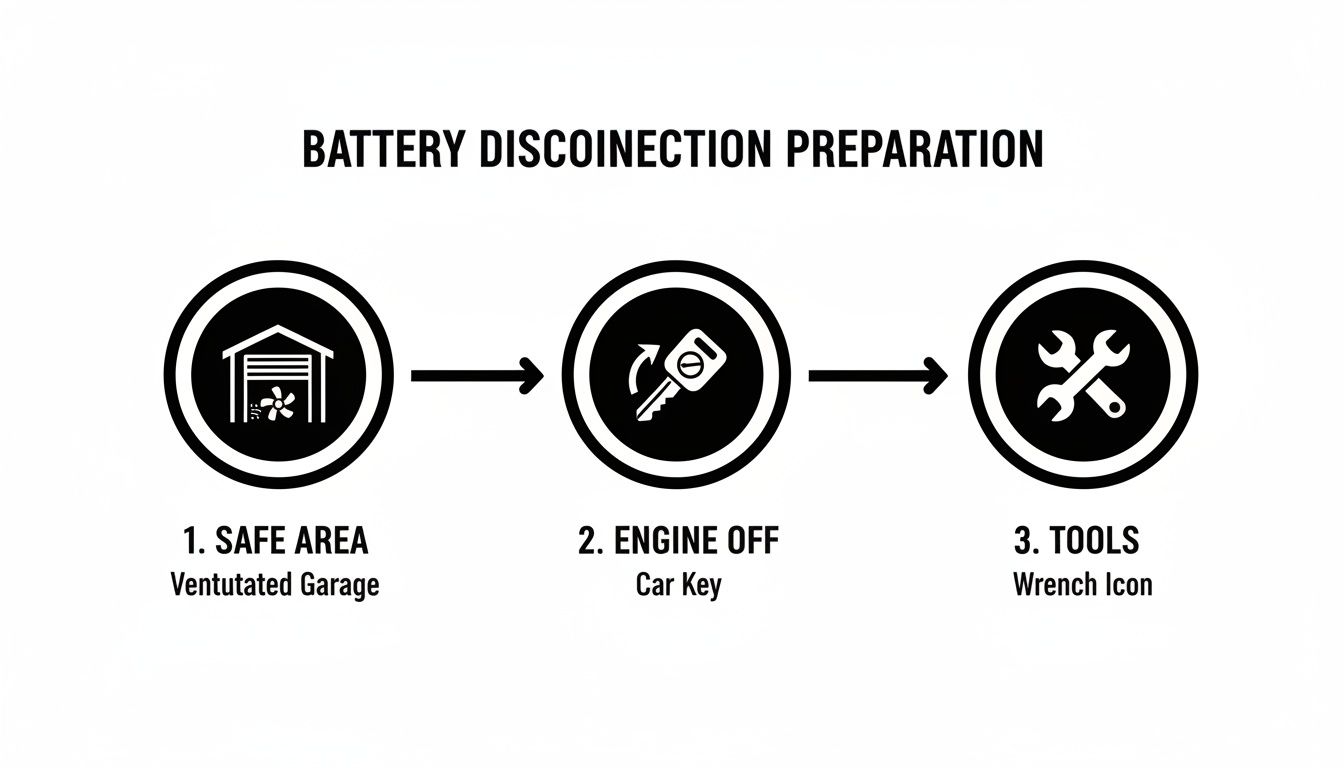
As this image illustrates, a safe workspace, a powered-down engine, and the correct tools form the foundation for a successful and safe procedure.
The Negative-First Rule in Action
Always begin with the negative terminal. This is the single most important rule of the process. Using the correctly sized wrench or socket (most commonly a 10mm), loosen the nut on the negative terminal clamp.
A few turns are usually sufficient; the goal is not to remove the nut entirely but to loosen the clamp enough to lift it off the battery post.
Once loose, gently twist and lift the cable connector straight up and off the post. Secure the cable end to the side, ensuring it cannot accidentally come into contact with the battery terminal again.
Pro Tip: Never use pliers or an adjustable wrench for this task. These tools can easily round off the soft lead nut on the terminal, creating a much larger problem. A properly sized wrench or socket is essential for a clean, damage-free disconnection.
Disconnecting the Positive Cable and the Hold-Down
With the negative cable safely disconnected, the vehicle's electrical circuit is broken. Only at this point is it safe to proceed with the positive terminal. Repeat the exact same process: loosen the nut, lift the cable connector from its post, and set it aside.
The battery is now electrically isolated from the vehicle. If you intend to remove the battery completely, locate the hold-down bracket. This is a clamp or strap, typically at the base or across the top of the battery, that secures it in place. A socket set with an extension may be needed to remove the hold-down bolt.
If you observe a chalky white or greenish substance on the terminals, this is corrosion. It is advisable to clean this away to ensure a strong electrical connection upon reassembly. For detailed instructions, refer to our guide on how to clean car battery terminals and prevent future buildup.
What About Hybrids and EVs? A Word of Caution
For owners of modern hybrid or electric vehicles (EVs), it is critical to understand that the electrical architecture is fundamentally different. While the principle of disconnecting a battery exists, the presence of a high-voltage system raises the stakes significantly. These vehicles contain two distinct battery systems, and distinguishing between them is non-negotiable for personal safety.
First, there is the familiar 12-volt battery. As in a conventional gasoline-powered car, this battery powers accessories like lights, infotainment, and control modules. This is the only battery a vehicle owner should attempt to disconnect.
Second is the high-voltage traction battery. This large battery pack powers the electric motor and operates at extremely dangerous voltage levels. Attempting to service this system without specialized training and equipment is life-threatening.
The High-Voltage System Is Off-Limits
Vehicle manufacturers use a universal color code to clearly identify high-voltage components. All high-voltage wiring, connectors, and casings are bright orange.
If you see orange-sheathed cables or components, consider it an explicit warning to stop. These wires carry a lethal level of electrical current.
A Critical Warning from Our Technicians: Do not, under any circumstances, attempt to service, disconnect, or modify any component insulated in orange. This work is reserved exclusively for certified professionals with specific high-voltage safety training and equipment.
This guide pertains only to the 12-volt accessory battery, which is safe to handle when following the proper procedures.
Locating the 12-Volt Battery in Modern Cars
Finding the 12-volt battery in an EV or hybrid can be challenging. To optimize space and weight distribution, engineers often place them in unconventional locations.
- Toyota Prius (Hybrid): The 12-volt battery is typically located in the trunk area, on the right side, concealed behind a plastic trim panel.
- Tesla Model 3 (EV): The 12-volt battery is found in the front trunk ("frunk"), beneath a plastic cover near the base of the windshield.
Given the significant variation between models, the vehicle’s owner's manual is the definitive resource. It will provide the exact location and any model-specific instructions.
Following manufacturer procedures is about more than just personal safety; it protects the vehicle's complex systems. Data from a Geotab study of over 22,700 EVs illustrates how proper maintenance significantly impacts battery longevity. You can read more about the EV battery health findings on Geotab.com, which underscores the importance of adhering to established protocols.
When working with a hybrid or EV, sound judgment is your most important tool. If you have any uncertainty, the safest course of action is to entrust the task to a qualified professional.
Knowing When to Call a Professional
Knowing how to disconnect a car battery is a valuable DIY skill, but recognizing the limitations of DIY work is even more crucial. Sometimes, the wisest decision is to set the tools aside and contact a professional. This can prevent a simple task from escalating into a costly or dangerous situation.
Several warning signs indicate that a task is best left to an expert. If you encounter any of the following, do not proceed.
Signs You Need an Expert
Severe Corrosion: If the terminal clamp is fused to the battery post by thick, heavy corrosion, do not attempt to force it free. Applying excessive force can break the battery post, leading to an acid leak and rendering the battery useless. Our guide on how to handle corrosion on your car battery shows examples of what to look for.
Damaged Battery Case: Visually inspect the battery casing. If you observe any bulging, swelling, cracks, or fluid leakage, stop immediately and maintain a safe distance. A compromised battery is a significant chemical and electrical hazard.
Inaccessible Battery Location: In some vehicles, particularly newer luxury models, the battery may be located under a fender, beneath the rear seat, or deep within a crowded engine compartment. Accessing it may require the removal of other components, a process that can quickly become complex.
In these scenarios, the risk of personal injury or vehicle damage outweighs the potential benefits of a DIY approach.
A swollen or bulging battery case is a critical warning. This typically indicates an internal failure, such as gassing from severe overcharging or an internal short. Handling a swollen battery is extremely dangerous.
Let Our Technicians Take Over
If you encounter any of these challenges, we can assist. Here at Express Lube & Car Care in Plano, TX, our ASE-certified technicians possess the specialized tools and training to manage any battery issue safely and effectively.
We routinely address problems like seized terminals and complex battery locations. Instead of risking a difficult repair, visit our facility. We provide convenient, no-appointment-needed service with transparent pricing, ensuring the job is done correctly while you remain safe.
Clearing Up Common Questions About Battery Disconnection
Even with a clear plan, questions often arise before performing maintenance. Here are expert answers to some of the most common inquiries we receive about battery disconnection.
What Happens if I Disconnect the Positive Terminal First?
Violating the "negative-first" rule introduces a significant safety hazard. A vehicle's metal chassis is grounded via the negative battery terminal.
If you disconnect the positive cable first, the entire car frame remains part of a live circuit. If your metal wrench touches the positive terminal and then simultaneously makes contact with any metal part of the vehicle (e.g., fender, engine block, bracket), you complete a direct short circuit. This will, at a minimum, produce a large, startling spark. In a worst-case scenario, it could damage the vehicle's Engine Control Unit (ECU) or ignite flammable hydrogen gas emitted by the battery, potentially causing an explosion.
Pro Tip: Think of the negative terminal as the master "off switch" for the entire vehicle's electrical ground. Once it is disconnected, the circuit is broken. Even if your tool touches metal while working on the positive side, there is no path for electricity to flow, ensuring your safety.
Will Disconnecting My Battery Erase My Car's Computer Memory?
Yes, in most cases, cutting power will reset certain electronic modules. Your vehicle will likely lose its settings for the radio presets, clock, and trip odometer. This is a minor inconvenience.
More significantly, disconnecting the battery can clear the adaptive "learned" data stored by the engine and transmission control modules. This is why a vehicle may exhibit a slightly rough idle or altered shift patterns for a short period after reconnection as it recalibrates. To prevent this memory loss, you can use a memory saver. This small device plugs into the vehicle's OBD-II diagnostic port and provides low-level power to maintain the electronic memory while the battery is disconnected.
How Long Can a Car Battery Stay Disconnected Before It Dies?
A disconnected battery is not immune to energy loss; it will gradually lose its charge through a natural process called self-discharge. A healthy, fully charged battery can typically be stored disconnected for two to three months before its voltage drops too low to start the engine.
However, several factors influence this timeline:
- Battery Age: An older battery has higher internal resistance and will self-discharge more rapidly than a new one.
- Temperature: Heat accelerates the chemical reactions that cause self-discharge. A battery stored in a hot garage will lose its charge faster than one kept in a cool, climate-controlled environment.
For vehicle storage exceeding a month or two, the best practice is to use a battery tender (or maintainer). This is a smart charger that monitors the battery's voltage and delivers a slow, steady charge only when needed, keeping it at an optimal level without overcharging.
While this guide provides the necessary knowledge for safe battery disconnection, some situations are best handled by professionals. If you encounter severe corrosion, a damaged battery, or are not fully confident in performing the task, please contact us. The ASE-certified technicians at Express Lube & Car Care have the tools and expertise to handle any battery service safely. Visit us at https://www.expresslubeplano.com for prompt, reliable assistance—no appointment necessary.